
Last updated November 16, 2026
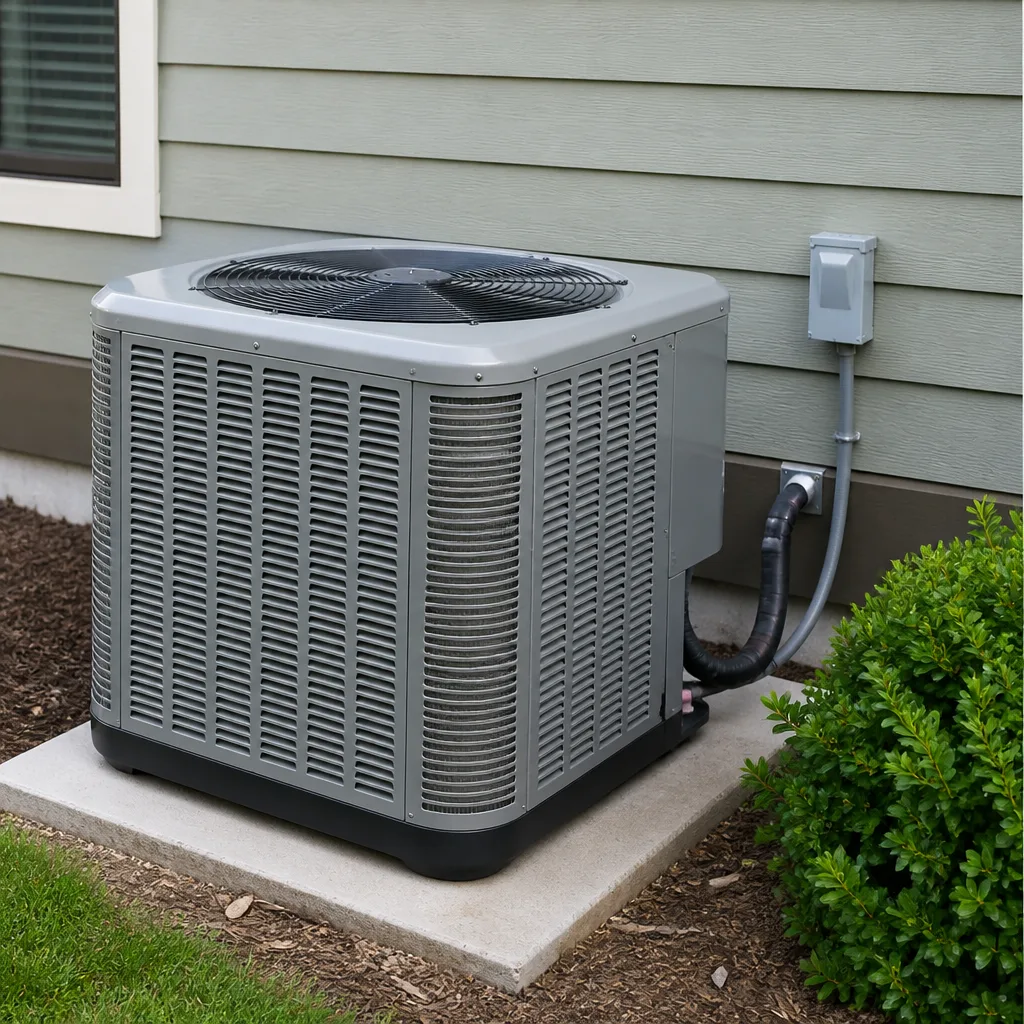 AC repair
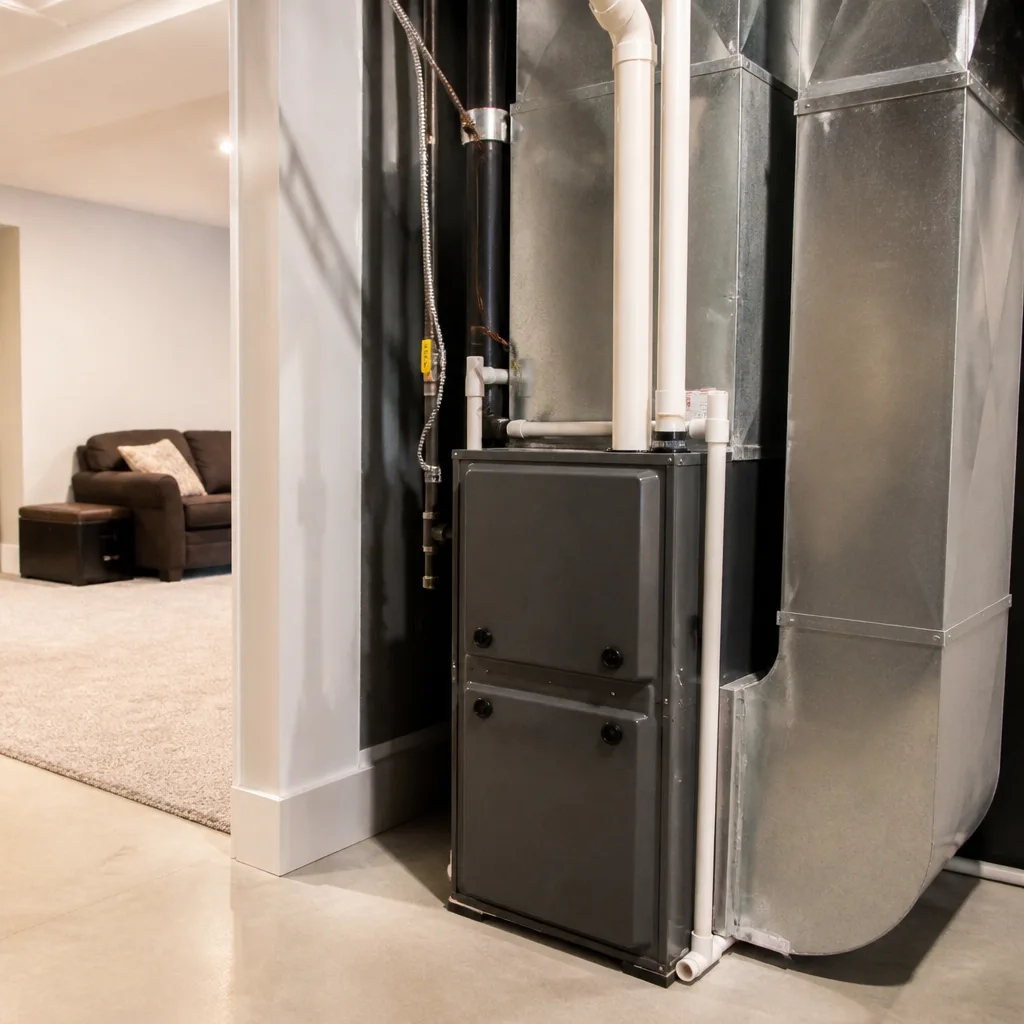 Furnace & heating
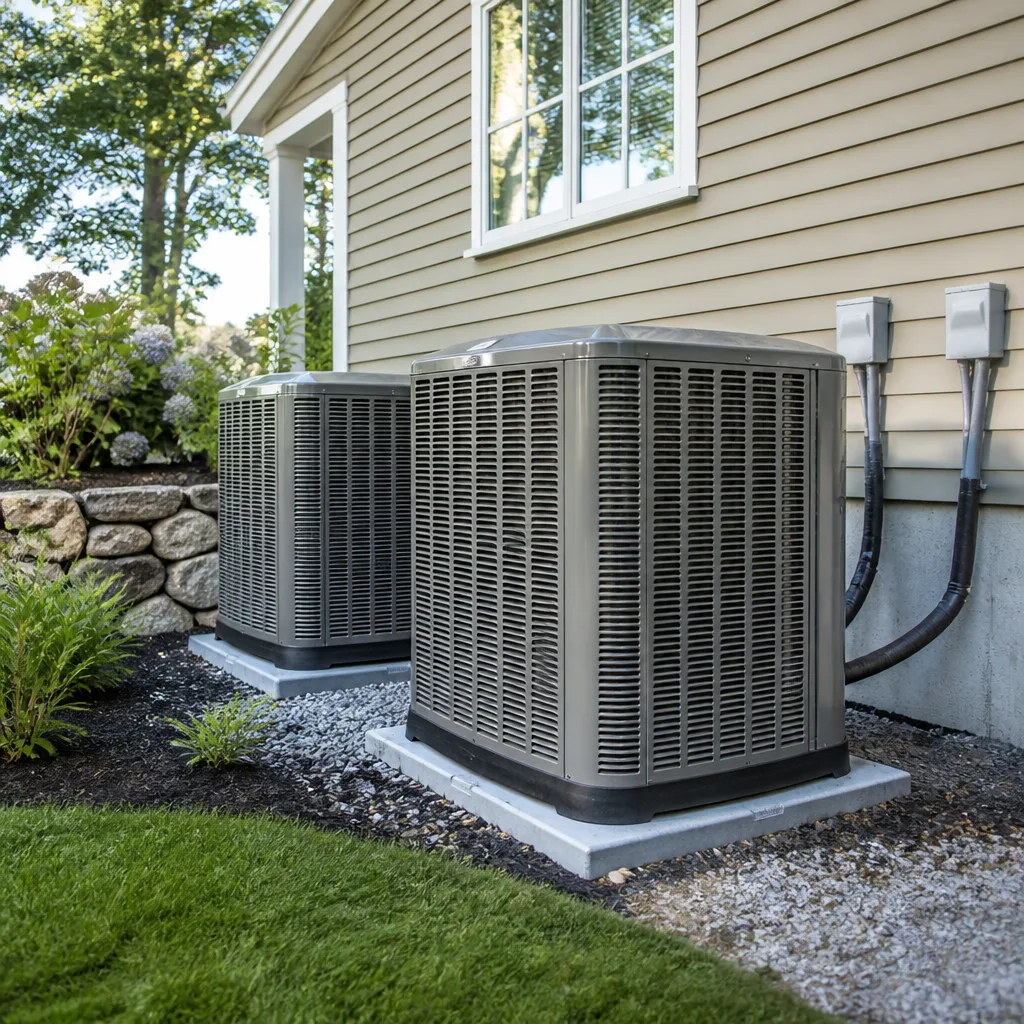 Heat pumps
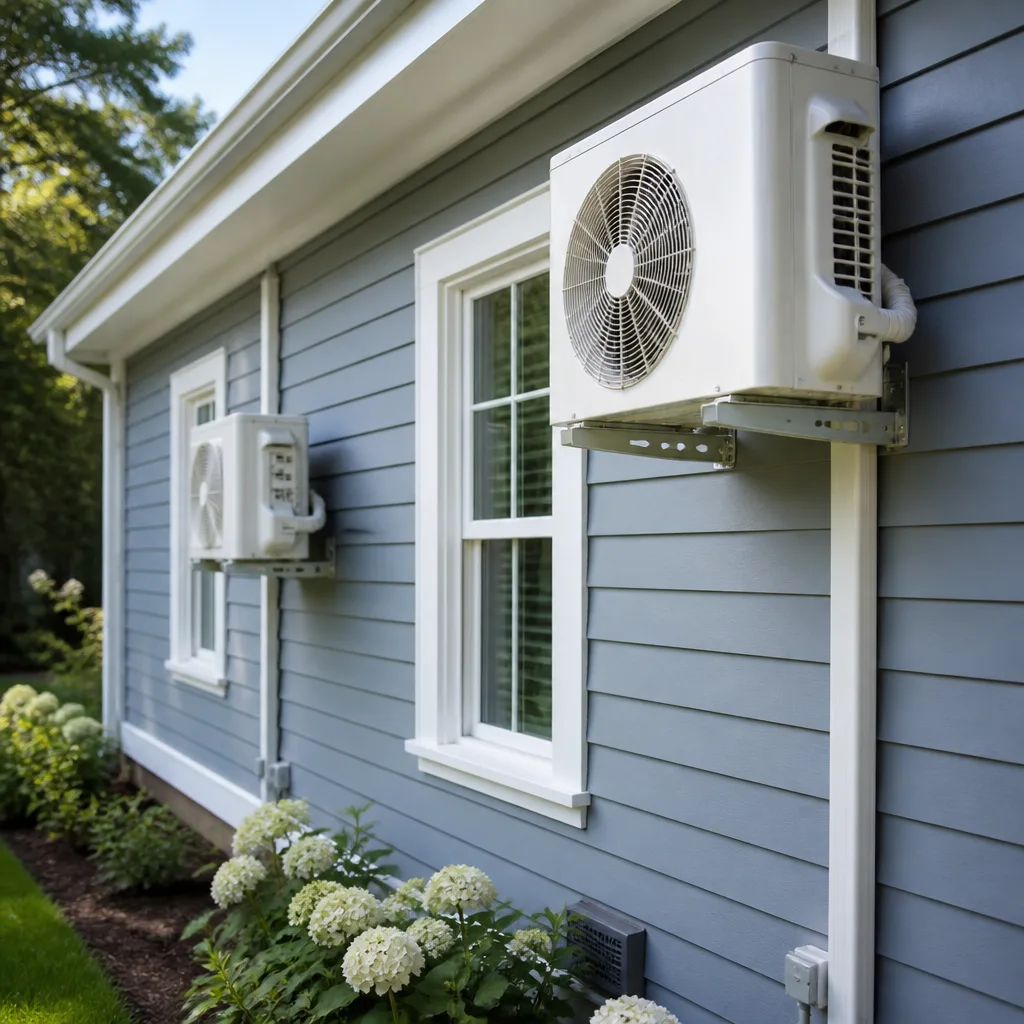 Ductless mini splits
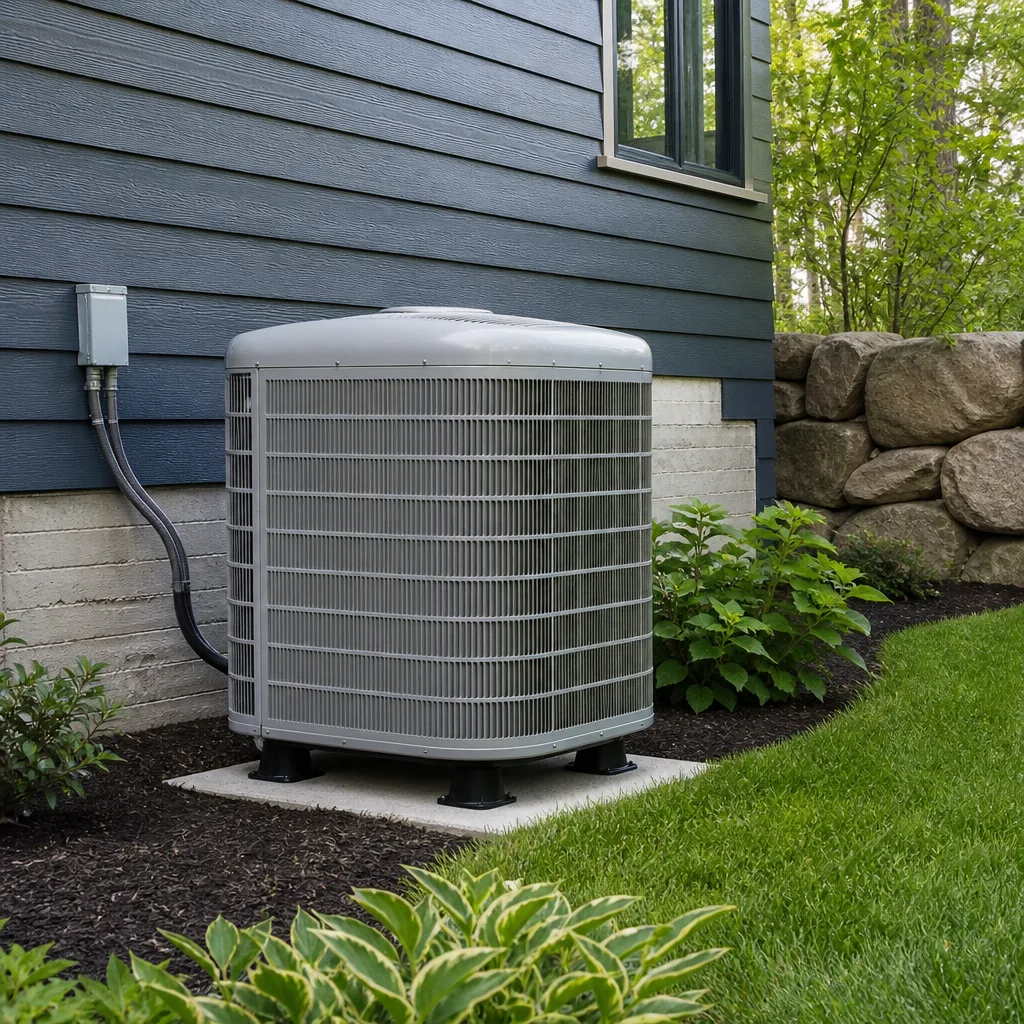 Carrier
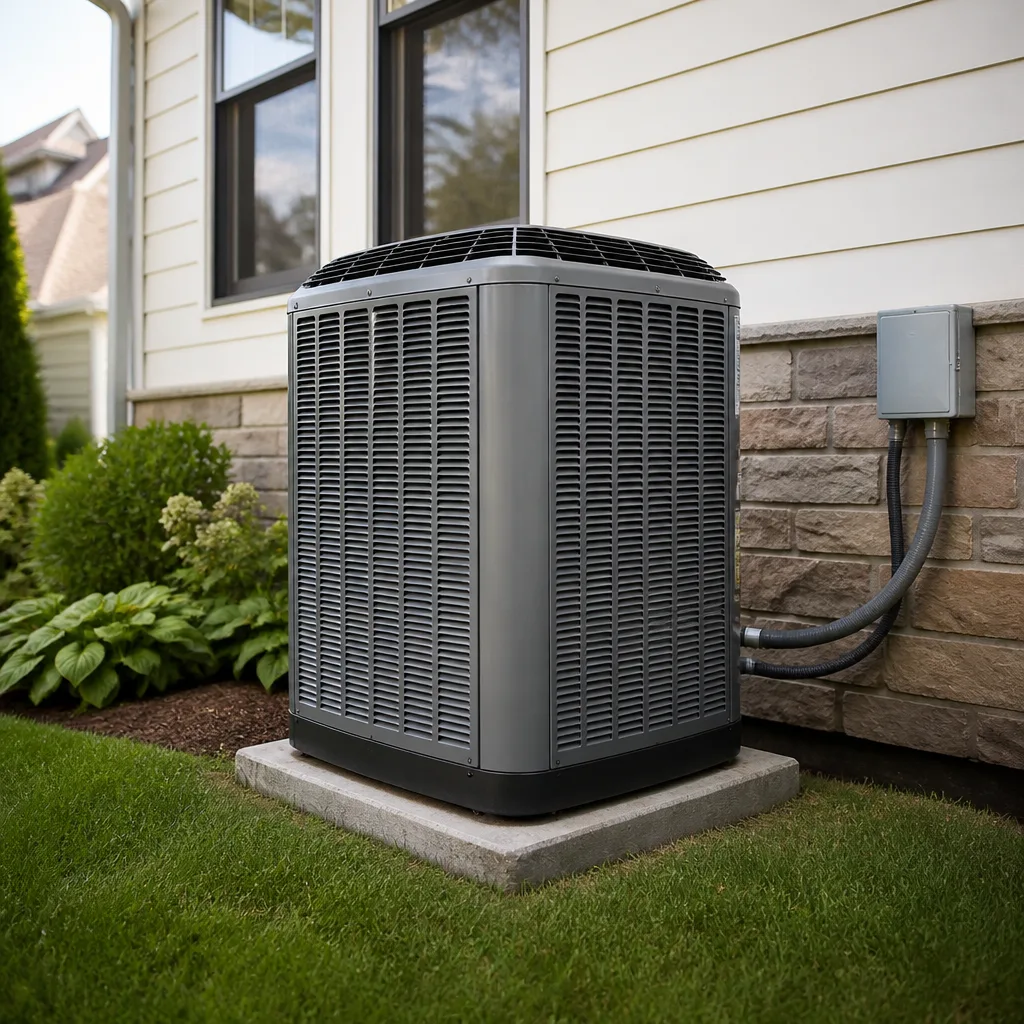 Trane
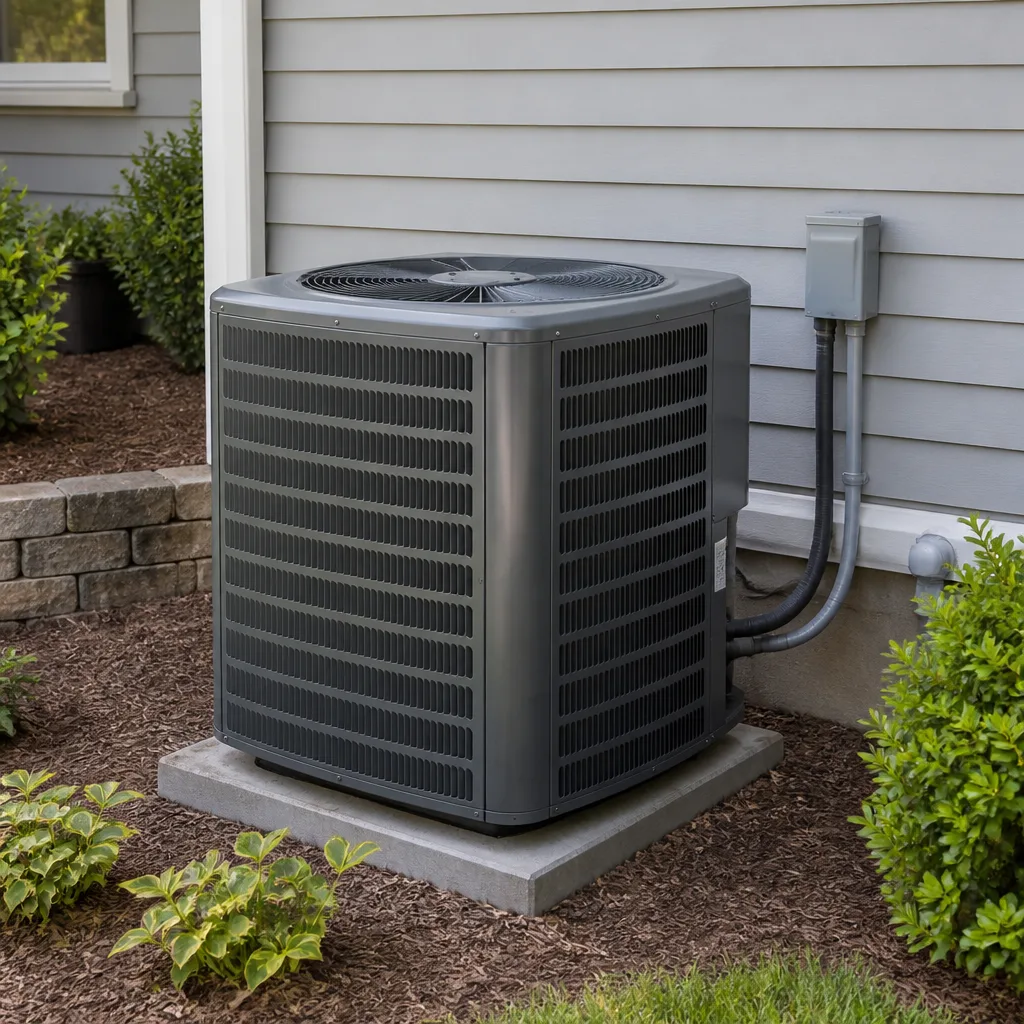 Goodman
Seasonal tune-up and full diagnostic on your Carrier, Trane, or Goodman system - readings shown to you before any repair is proposed
Diagnosis first, numbers second - you approve the repair price before a single part goes in.
Get your free estimateAC Installation Troubleshooting in Riverview: Common Problems and How to Fix Them
If your brand-new AC is short-cycling, can’t keep up after 2 p.m., or is running your electric bill higher than expected, the unit probably isn’t the problem. The installation likely is. New equipment from Daikin, Bryant, or American Standard rarely leaves the factory defective. What fails is the work around it: the charge that got rushed, the drain line that slopes the wrong way, the wiring that wasn’t sized to the condenser. Those faults don’t show up on day one. They surface weeks later, once the system settles into real load.
Riverview homes deal with humid air and long cooling seasons, so install errors here have less margin for slop than a mild-climate system would. This guide walks through the symptoms homeowners actually notice after a fresh install, what each one usually points to, and how to document it so a callback or warranty claim holds up. You’ll learn how to push back with specifics instead of frustration.
Quick Answer
Most post-installation AC problems in Riverview are installer errors, not equipment defects. Short-cycling points to an oversized system or a thermostat wired wrong. Uneven cooling and warm rooms point to improper refrigerant charge or unsealed duct connections. Water around the air handler means the condensate drain wasn’t pitched right for Florida’s humidity load. Breaker trips point to a disconnect or wiring undersized for the condenser. Each one is a callback item, and each one is fixable when you document it in writing.
Styles & brands we work with
- AC repair
- Furnace & heating
- Heat pumps
- Ductless mini splits
- Carrier
- Trane
- Goodman
Table of Contents
- Short-Cycling After Installation: Why It Usually Means Oversizing
- Warm Rooms and Uneven Cooling: Charge and Duct Connections
- Condensate Drain Problems in a Humid Climate
- Electrical Symptoms: Breaker Trips and Voltage Problems
- How to Escalate an Installation Dispute in Florida
- What to Document Before You Call Anyone Back
- When to Call a Professional
- Frequently Asked Questions
Short-Cycling After Installation: Why It Usually Means Oversizing
Short-cycling means the compressor starts and stops in cycles that are too short, often just a few minutes on, a few off. A new unit that does this is rarely broken. In our experience, this is the single most common complaint we hear after a fresh AC installation, and the culprit is almost always a system that’s too big for the house.
Here’s the trap. Oversizing looks like good advice. A bigger unit cools faster, so the salesman who suggests upsizing sounds helpful. But a system that’s oversized only runs long enough to drop the temperature reading, then shuts off before it can pull the moisture out of the air. The house feels cold and clammy at the same time. Rooms cool unevenly because air doesn’t circulate long enough to reach the far bedrooms. And the compressor starts and stops far more often than it was designed for, which wears it out early.
Why a Load Calculation Matters
Correct sizing starts with a room-by-room load calculation, sometimes called a Manual J. It factors in square footage, window orientation, insulation values, ceiling height, and how much sun each side of the house takes in Riverview’s climate. Without that math, the installer is guessing, and guessing runs big every time.
How to Document Short-Cycling for a Callback
- Note the time the compressor starts and stops. Do this for a week, and write down the on/off times.
- Record the outdoor temperature and the thermostat setting for each cycle.
- Keep your installation paperwork showing the model and tonnage installed.
- Ask, in writing, for the load calculation that was used to size the system. A legitimate installer has it.
- If the load calc doesn’t exist or doesn’t match the unit, that’s your evidence for a callback or a warranty claim.
Short cycles typically show up within the first weeks of cooling season, once the house is under real midday load. That’s why the problem often gets missed on install day.
Warm Rooms and Uneven Cooling: Charge and Duct Connections
You paid for a house that cools evenly. If one bedroom stays warm while the living room is fine, the system has a delivery problem, not a capacity problem. Two faults cause nearly all of these complaints: refrigerant charge that wasn’t verified, and duct connections that weren’t sealed at the install.
Refrigerant Charge
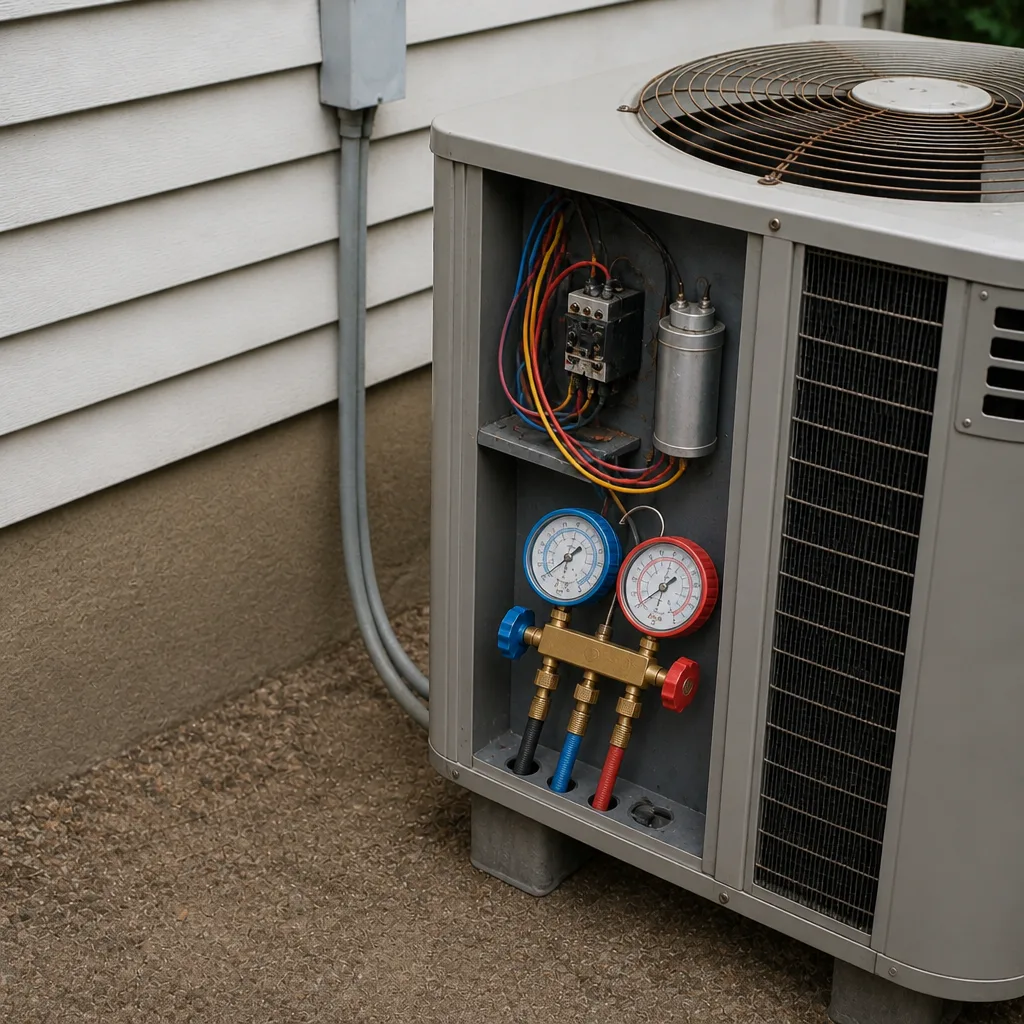
Refrigerant isn’t something that gets “topped off” and forgotten. A new system has to be charged to the manufacturer’s spec for that exact model, using superheat or subcooling measurements, not just a pressure gauge. When the charge is a little off, the system still runs. It just runs inefficiently. Rooms at the end of the duct run go warm first. The unit runs longer than it should. If the problem is significant, you’ll see it in your power bill before you understand what happened.
An undercharged or overcharged system also strains the compressor, which shortens the equipment’s life. This is one of the reasons we tell homeowners to ask for the commissioning report from install day. A proper technician documents the charge readings.
Duct Connections
Ducts are only as good as their seals. Supply plenum connections, return drops, and the boot-to-register transitions all need to be taped and mastic-sealed. When any of these are loose, conditioned air leaks into the attic or wall cavity instead of into the room. In Riverview’s climate, that leak costs real money in the first month. Warm air from the attic infiltrates through every gap.
- Check the airflow at each register. Weak flow at the far rooms is the first sign of a leaking or disconnected duct.
- Look at the air handler. Loose flex duct hanging off a plenum is easy to spot.
- Check the return. A return that’s pulling from a hot attic will make the whole house cool unevenly.
- Ask for a static pressure reading. A proper install documents it, and it tells you whether the duct system is actually moving the air the unit was designed for.
Both of these problems are installer errors, and both are legitimate callback items. Warm rooms that persist after a new install are not something to live with.
Condensate Drain Problems in a Humid Climate
Every AC removes moisture from the air, and in Riverview that moisture load is heavy. A properly sized home system can pull gallons of water out of the air in a single summer day. If the drain line wasn’t set up right, that water has somewhere to go that isn’t outside, and you find out by discovering a puddle or a stained ceiling.
What a Correct Drain Line Looks Like
- Continuous slope. The drain should pitch steadily from the air handler toward the exterior. No flat sections, no dips, no uphill runs.
- Primary and secondary drains. A code-compliant install in Florida uses both, with the secondary line routed as a backup so a clog doesn’t back up into the house.
- Float switch. A safety switch on the drain pan shuts the system off before it floods.
- Properly sized trap. The condensate trap must be deeper than the static pressure the air handler produces, or the drain won’t flow.
- Insulated lines indoors. Exposed drain lines in a hot attic form condensation on the outside and stain ceilings.
Symptoms of a Failing Drain
Watch for water stains on the ceiling below the air handler, a puddle in the attic, or the system shutting off on a float-switch trip. If the float switch is doing its job, the system stops before damage happens. If it wasn’t installed, you find out through the ceiling.
Drain clogs are also common in the first year, since construction dust and debris work their way into the pan and line. An install that didn’t flush the system cleanly often shows its first clog within the first humid month. Call a professional, who can clear the line, verify the trap, and confirm the secondary is properly routed.
You can read more about the general AC repair side of these issues, and about our broader service in Riverview, to understand how repairs and installs connect.
Electrical Symptoms: Breaker Trips and Voltage Problems
An AC system pulls significant current, and the wiring, disconnect, and breaker have to match the condenser’s rated load. When any of these are undersized, the symptom is usually a breaker that trips during the hottest part of the day or a system that cuts out unpredictably. This is an installer error, and it’s not one to ignore.
What Goes Wrong
- Undersized wire. The wire gauge from the breaker to the disconnect needs to match the nameplate amps on the condenser. A last-minute equipment swap that wasn’t matched to the existing wire is a classic cause.
- Loose lugs. Connections that aren’t torqued to spec create resistance, heat, and voltage drop. The result is nuisance trips and premature component failure.
- Wrong breaker. A breaker rated below the equipment’s minimum circuit ampacity will trip under load.
- Disconnect issues. A poorly sized or worn disconnect can arc and fail.
Electrical work on HVAC equipment is genuinely dangerous. High voltage and high current together are not a homeowner fix. If your breaker trips more than once on a new install, stop resetting it and get a technician out. Repeated resets strain the compressor and the wiring.
What a Technician Checks
- The nameplate rating on the condenser.
- The wire gauge and breaker size against that nameplate.
- All lugs and connections, properly torqued.
- The disconnect for sizing and condition.
- Voltage at the unit while running, to check for drop.
This is straightforward work when it’s done right. The problem is what it costs when it’s deferred. Tell the installer exactly what’s happening: when the breaker trips, the outdoor temperature, and whether anything else on the circuit is affected.
How to Escalate an Installation Dispute in Florida
When an installer won’t come back to fix a documented problem, the answer isn’t to give up. Florida has a process. It starts with paperwork and escalates from there. Knowing the steps helps you move faster and keep the record clean.
Steps to Escalate a Dispute
- Put it in writing. Send a written notice describing each symptom, when it started, and what was already discussed. Email counts. Keep a copy.
- Request the commissioning documents. The load calculation, the refrigerant charge report, the static pressure reading, and the drain configuration. A compliant installer has these on file.
- Read your contract. Florida contracts for HVAC work typically include a warranty on labor and a separate manufacturer warranty on the equipment. Labor warranty terms vary and matter.
- File a complaint with the state licensing board. HVAC contractors in Florida are licensed by the state, and complaints go to the Florida Department of Business and Professional Regulation (DBPR). Documenting each step matters.
- Pursue the manufacturer warranty if the equipment itself is implicated. Registering the equipment at the time of install preserves the warranty. If registration wasn’t done, that’s another installer issue.
- Consider a second opinion from a licensed contractor. An independent review creates a written record of the installation fault.
What to Have in Writing
- The signed contract with the equipment model numbers.
- The load calculation used to size the system.
- Commissioning records from install day.
- Every written communication about the problem, in order.
- Photographs of any water damage or installation defect.
- A copy of the manufacturer’s warranty registration.
Most disputes get resolved at the written-notice stage, because a legitimate contractor knows the record holds up. If the contractor won’t engage, the licensing board complaint and a documented second opinion will. A homeowner who has a paper trail is in a much stronger position than one who only made phone calls.
What to Document Before You Call Anyone Back
Frustration is not a diagnosis. Before you call the installer back, gather the information a technician needs to fix the problem on the first visit. A clean report saves time, avoids misdiagnosis, and protects your position if the problem continues.
- Write out the symptoms. Temperature in each affected room, what time of day the problem is worst, and whether it changes with the weather.
- Track the schedule. For short-cycling, note the start and stop times for at least several days.
- Photograph everything. The air handler, the drain lines, any water stains, the outdoor unit, the breaker panel labeling, and the installation labels.
- Keep your paperwork together. Contract, load calc, commissioning report, and any prior correspondence in one place.
- Note the model and serial numbers. From the outdoor condenser and the indoor air handler.
- Don’t attempt repairs yourself. Any change you make is a reason for the installer to deflect responsibility.
Whether you have a Carrier, Daikin, or American Standard unit, the diagnostic process is the same. The equipment brand is rarely the issue, and a brand-agnostic technician can confirm that in writing. We work on your brand, not ours, so the diagnosis isn’t tied to what we sell.
If your furnace side is acting up too, or you’re considering furnace repair alongside the AC work, the same documentation habits apply. And an annual furnace replacement decision benefits from the same load data used for the AC. One company handling the full lifecycle means the numbers stay consistent.
When to Call a Professional
Some post-install symptoms need a technician right away. Repeated breaker trips, water anywhere near electrical equipment, a system that’s running but not cooling at all, or a drain that’s already flooded the ceiling. Those are safety or damage items, not something to watch for another week. Short-cycling, uneven cooling, and warm rooms are also legitimately in professional territory, because the fix involves charge verification, static pressure readings, or load calculations that homeowners can’t do without proper tools.
What we tell homeowners in Riverview: don’t live with a system that isn’t delivering. A properly installed AC does its job quietly. If yours doesn’t, the installation is the place to look. AC Repair Riverview offers free estimates in Riverview. Call (888) 465-9784. We answer 24/7. Fast dispatch from 7am to 7pm, Sunday through Friday.
Frequently Asked Questions
The most common installation problems in Riverview are short-cycling from oversizing, poor refrigerant charge, unsealed duct connections, improperly pitched condensate drains, and undersized electrical components. Each of these shows up in the days or weeks after install, not on day one. All of them are installer errors, not equipment defects, and all of them count as legitimate callback work. Call (888) 465-9784 for a free estimate if you’re not sure what’s causing your symptoms.
A new AC that short-cycles is usually oversized for the home, not faulty. When the system is too large, it cools the thermostat quickly, shuts off, then restarts before it has run long enough to dehumidify the house. The result is a house that feels cold and clammy, with compressor wear that wasn’t intended. Ask your installer for the load calculation used to size the equipment. If there isn’t one, that’s your starting point for a callback.
Warm rooms after a new install usually point to a leaking duct connection or an incorrect refrigerant charge. Both are installer errors. Ask for the commissioning report from install day. A proper install documents the refrigerant readings and the static pressure at the air handler. If those aren’t available, get a second opinion in writing. Call (888) 465-9784 for a free estimate.
You can’t safely leave it, in Riverview’s humidity, a slow drain issue becomes a water-damage issue within a few weeks. Watch for stains on the ceiling below the air handler, water in the attic, or the system shutting off on a float switch. Repeated float trips mean the drain is clogged or pitched wrong. That’s a same-day call to a professional.
Rarely. Installation problems like short-cycling, charge issues, drain issues, and electrical faults look the same whether the equipment is Carrier, Daikin, Bryant, or American Standard. That’s why an installer who works across brands is a better fit for diagnosis. A brand-locked contractor may blame the equipment; a brand-agnostic technician diagnoses the installation. We work on your brand, not ours.
Repair first, in nearly every case. A recently installed system with warranty coverage and documented installation faults is a repair and callback matter, not a replacement one. Document the symptoms, ask for the commissioning paperwork, and get a second opinion before you consider replacement. Replacement is a real conversation only when the equipment itself has a manufacturing defect the manufacturer won’t cover. Call (888) 465-9784 for a free estimate on either path.
Put the complaint in writing, request the commissioning documents, and check your contract’s labor warranty terms. If the contractor still won’t engage, file a complaint with the Florida Department of Business and Professional Regulation and get a documented second opinion from a licensed contractor. Keep every communication, photo, and contract in one place. The paper trail is what a licensing board complaint and any warranty pursuit will rely on.
Yes. We diagnose and service equipment from nine major residential brands, including Carrier, Daikin, Bryant, American Standard, Trane, Lennox, Goodman, Rheem, and York, regardless of who installed it. A brand-agnostic technician diagnoses the system, not the label. Our technicians have up to 10 years of experience. Call (888) 465-9784 for a free estimate.
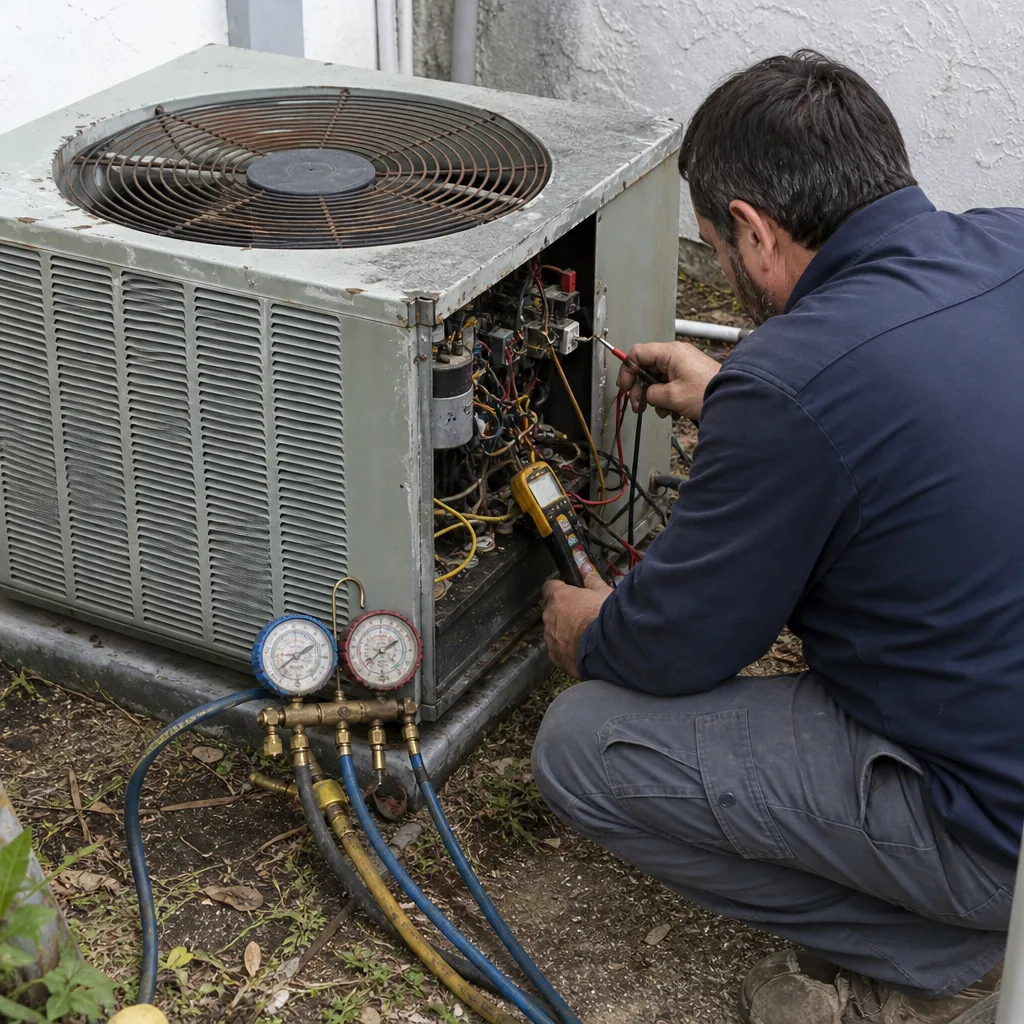
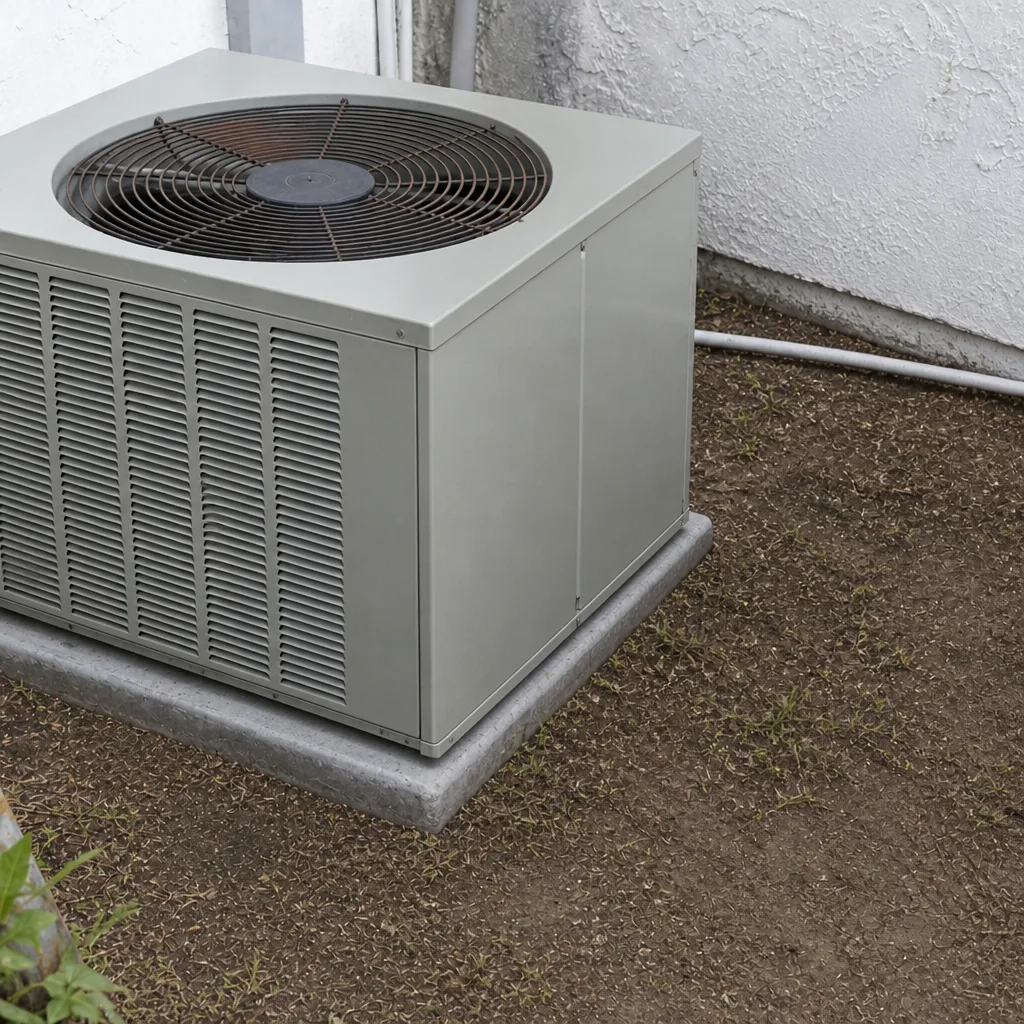
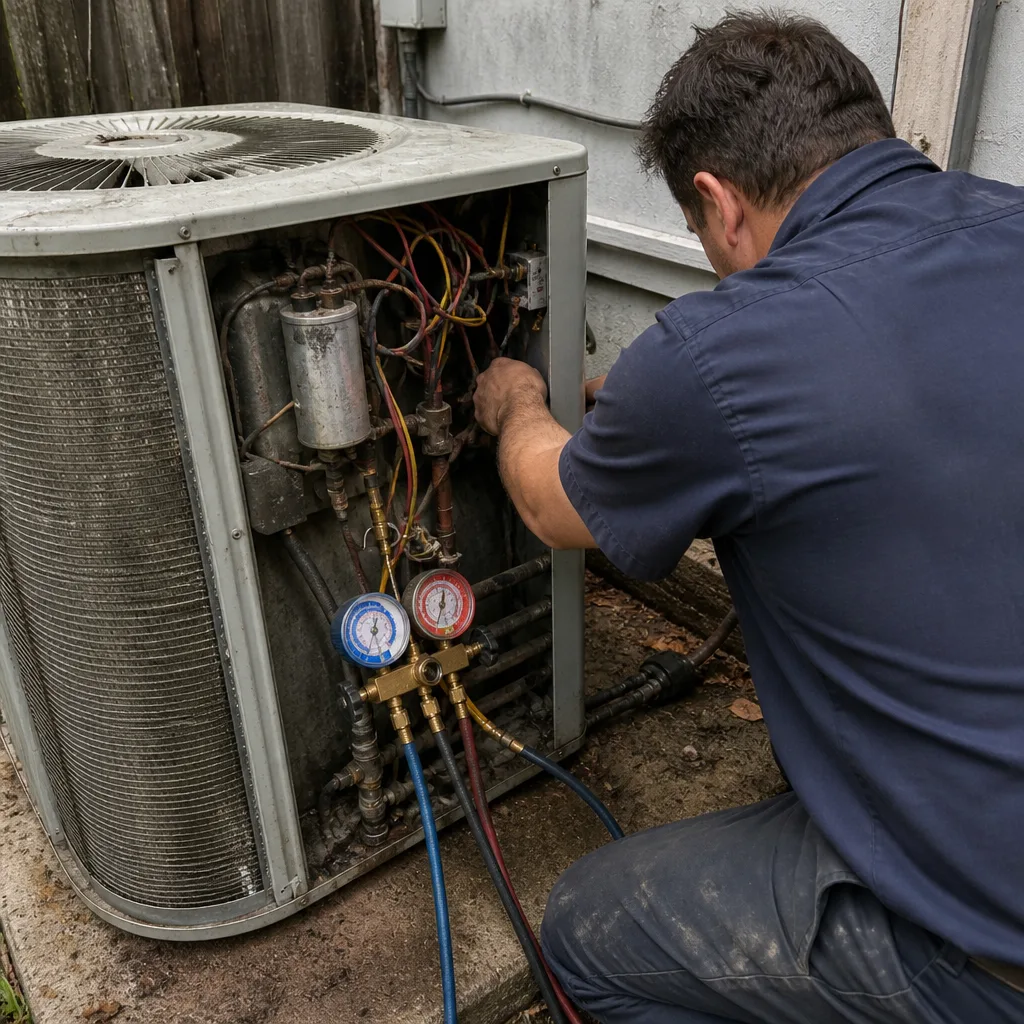
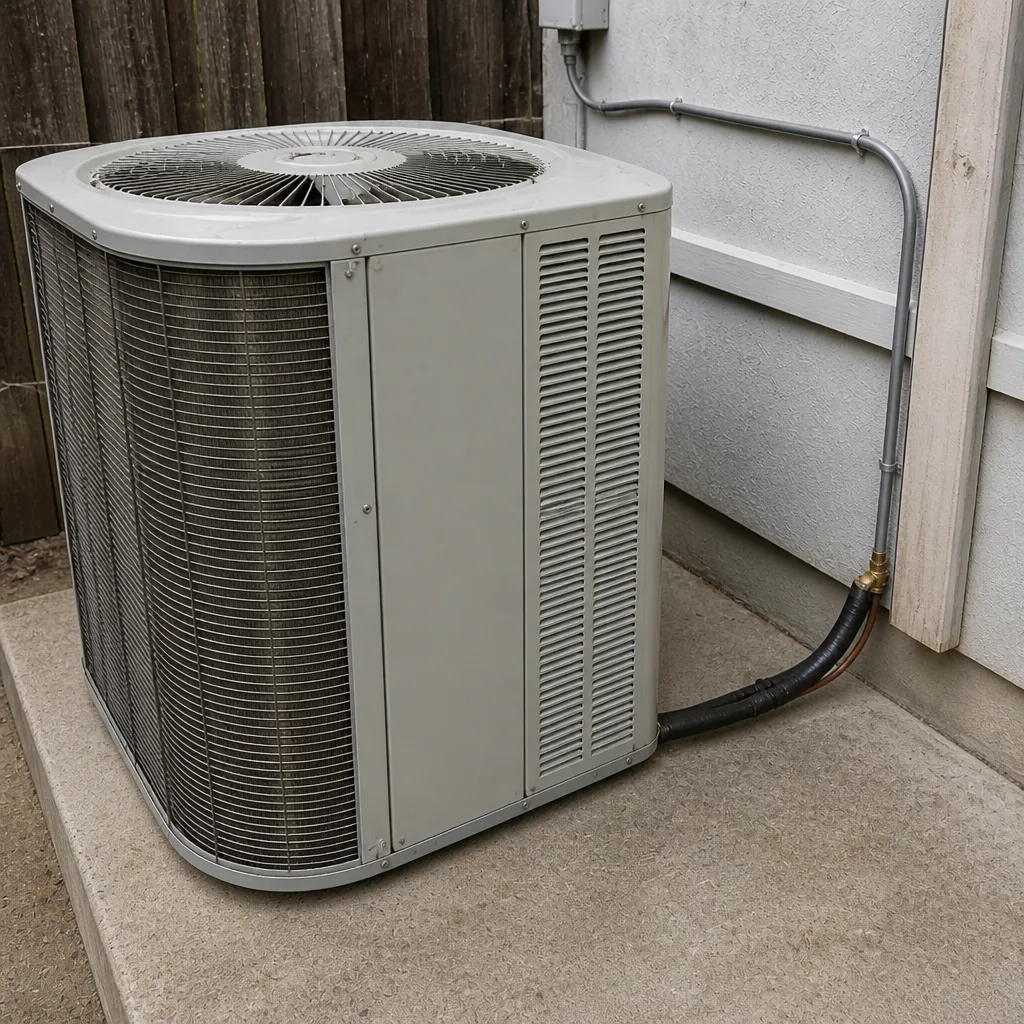
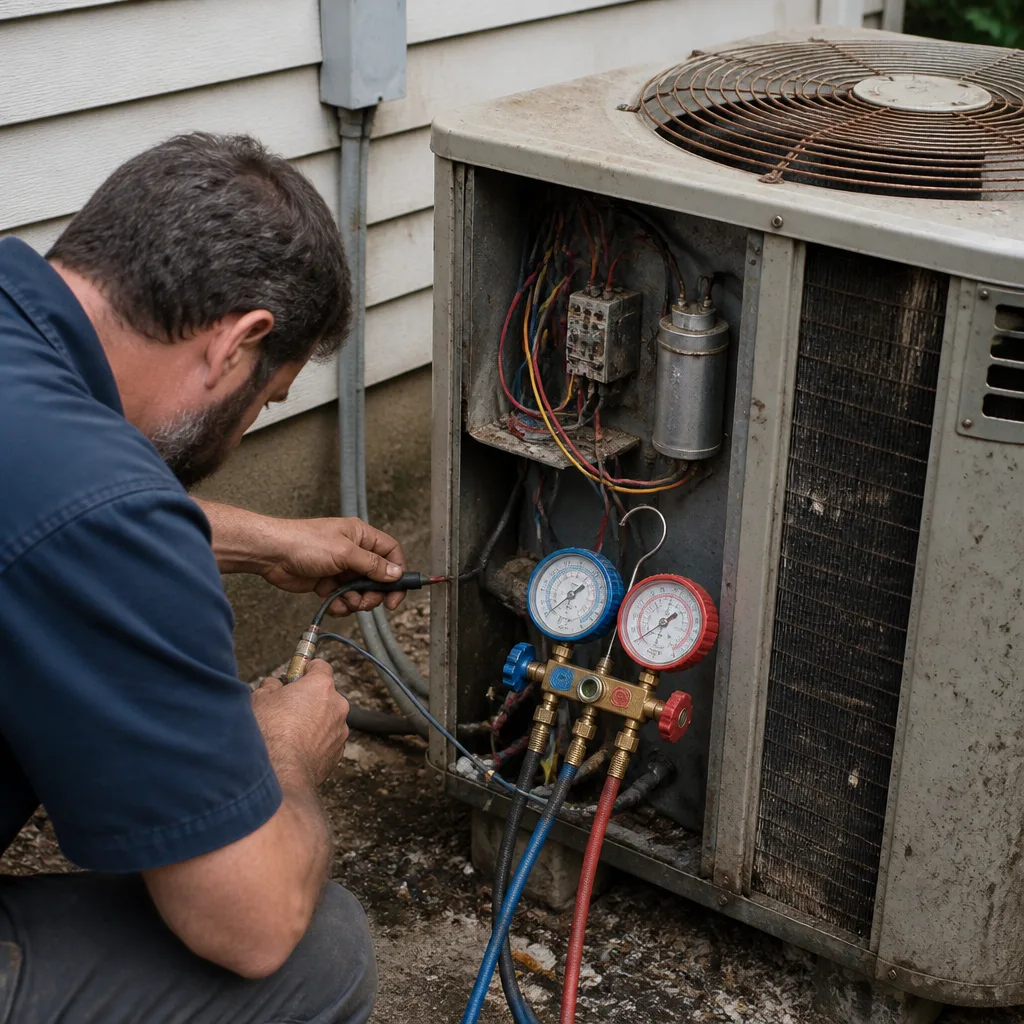
See the difference
 Before
 After
 Before
 After
 Before
 After
Common Mistakes to Avoid
- Accepting an upsized system because “bigger is better.” A larger unit cools faster and dehumidifies worse. Always ask for the load calculation before signing anything.
- Skipping the commissioning report. Charge readings, static pressure, and drain photos belong in your file on install day. Without them, you can’t prove a problem started after install.
- Assuming a new unit can’t be the problem. Equipment fails, but far less often than installs do in Riverview. Start with the installation and work outward.
- Not photographing water damage when you find it. Stains on the ceiling become arguments without date-stamped photos. Take them the moment you notice.
- Fixing things yourself before the installer sees them. Any change you make gives the contractor a way to deflect. Document, call, and let a licensed technician touch the system.
- Ignoring a breaker trip “because it only happens once in a while.” Repeated trips are a wiring or sizing fault, and they can lead to compressor damage or fire risk. Stop resetting and call.
- Hiring a general handyman for HVAC installation. In Florida, HVAC work requires a licensed contractor. Handyman installs void most manufacturer warranties and complicate any dispute.
The Bottom Line
Most problems with a new AC in Riverview trace back to the installation, not the equipment. Short-cycling, uneven cooling, condensate leaks, and electrical trips are all symptoms of installer mistakes, and each one has a specific fix. What matters is documentation. Load calculations, charge readings, drain photos, and written communication are what turn a frustrating symptom into a successful callback or warranty claim. You don’t need to diagnose the fault yourself. You need to report it clearly and know what to ask for.
Our technicians have up to 10 years of experience and work on Carrier, Daikin, Bryant, American Standard, and every other major brand installed in Florida homes. Call (888) 465-9784 for a free estimate. We answer 24/7. Fast dispatch from 7am to 7pm, Sunday through Friday.
Written by the team at AC Repair Riverview.